I think this Lowe's Rev-A-Shelf set of flip-out fake-drawer unfakers is really a bargain for what you get. But there are 9 installation issues, small and big, that you may want to be aware of.
(1) The instructions list the estimated assembly time of these flip drawers as 30 millenia (MIN). I did it in far, far, less time than that!
(2) The instructions are not really instructions in the usual sense. The text part is essentially: "look at the pictures and see if you can figure out what is going on".
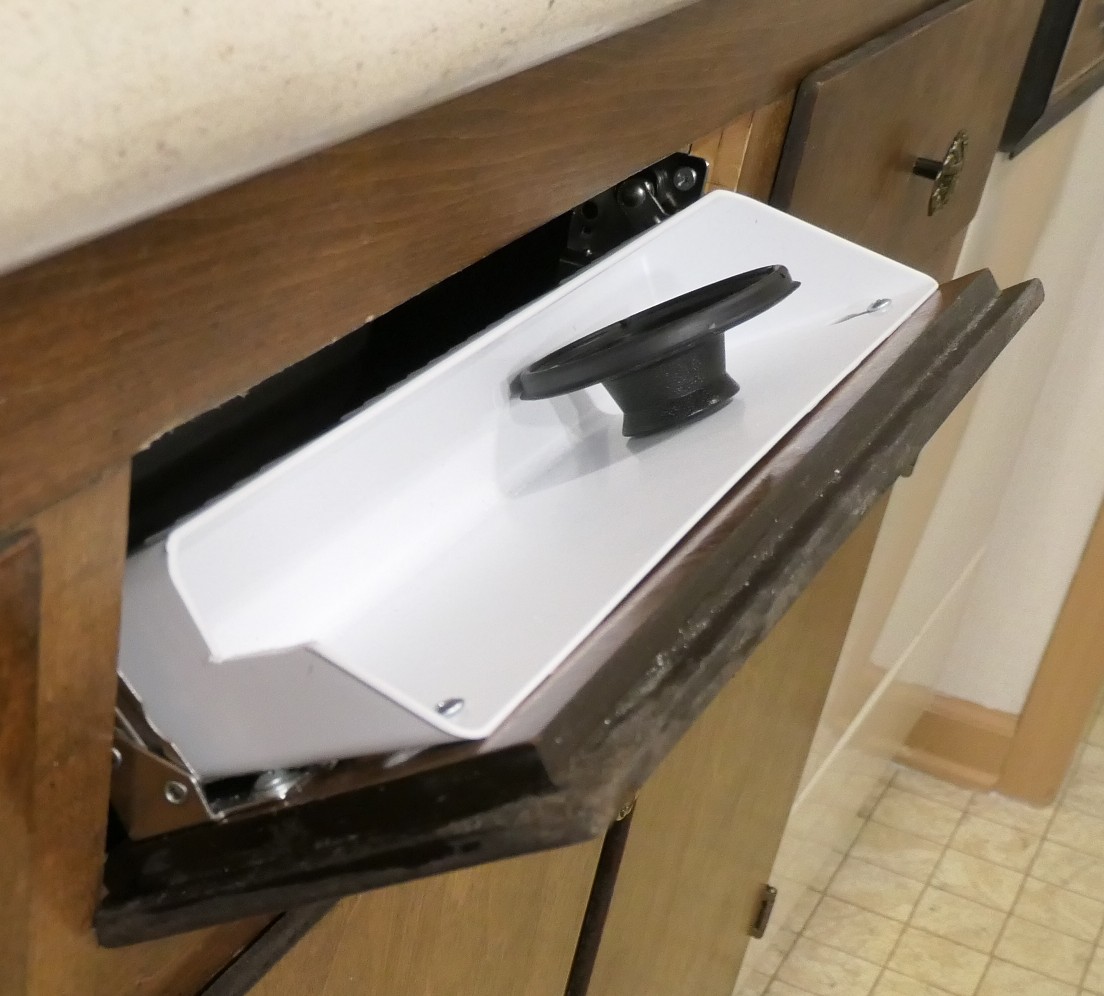
(3) The plastic trays may potentially hit the damper sticking way out from the hinges. I could not avoid that, even though my cabinet openings at 14.75" were wider than the 14.5" specified on the box and in the instructions. So I had to cut out part of the trays with a hacksaw, pic 1. (I may buy the 11" trays separately to improve looks.) If your cabinet openings are 15" or more, it should not be necessary.
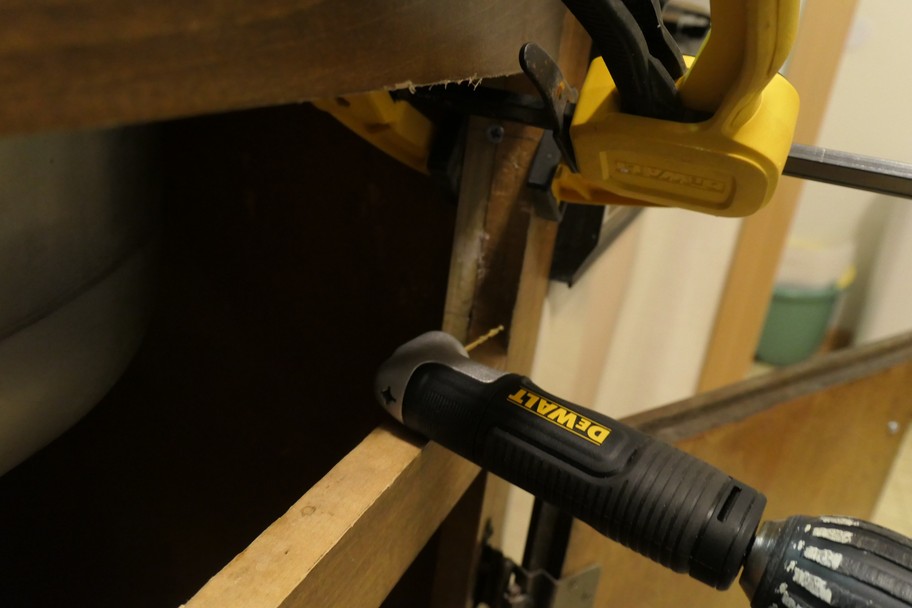
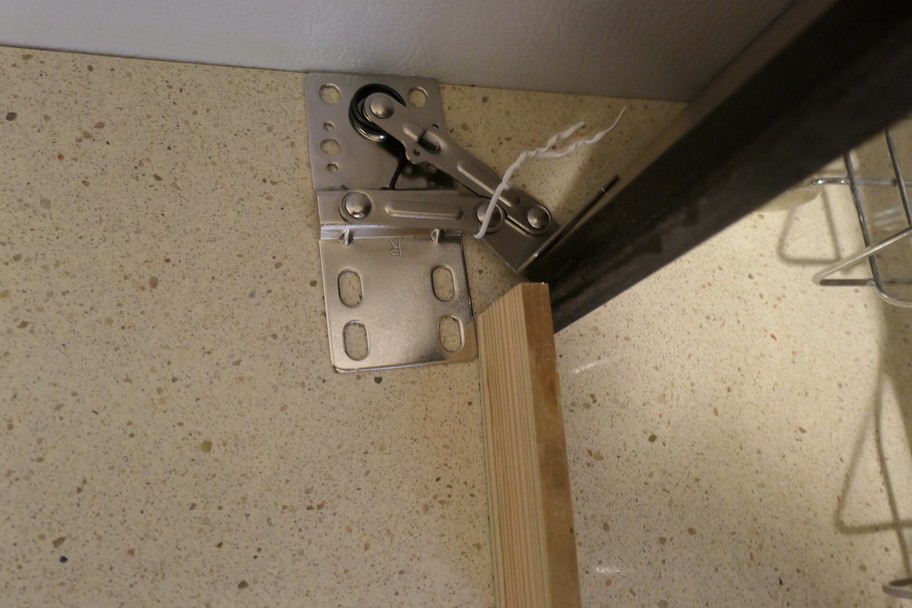
(4) The instructions apparently assume that your fake drawer covers are flush against the front surface of the cabinet. But mine have a thicker central part that sticks *into* the holes in the cabinet, see pic 1. This moves the hinges backward in the cabinet opening, and you may run out of wood to screw them to. As pic 2 shows, I had to glue additional pieces of wood to the back of the opening using Elmer's glue (for bare wood) to prevent the wood from splitting. (Note that in making pic 2, I mistakenly held the drill bit in the wrong place. Sorry about that. The correct holes were almost right on the seam between the two woods, see pic 1.)
(5) The set-back hinges will also increase the required clearances listed in the instructions.
(6) The bottoms of the fake drawer covers may hit the front of the cabinet (especially with set-back hinges). Mine did, pic 1, even though I was aware of the issue and had measured the clearance before installation, pic 3. But with the seam of the glued-on wood complicating things, the hinges turned out somewhat further back than I had intended. So back to the drawing board with wooden toothpicks and such.
(7) The lower screw holes are going to be very close to the bottoms of the cabinet holes. So you may want to use something like a very long drill bit or a drill bit extension to get the holes reasonably straight. I used a 90 degree converter, pic 2 (still a bit too thick).
(8) The holes in the dampers do not have precut threads, so the screws are hard to screw in. I put the dampers in a vice to cut the threads with the screws before installing the dampers.
(9) The holes in the hinges for the screws are really big. While that increases tolerances, you may want to get some #8 washers as long as you are at Lowe's anyway.